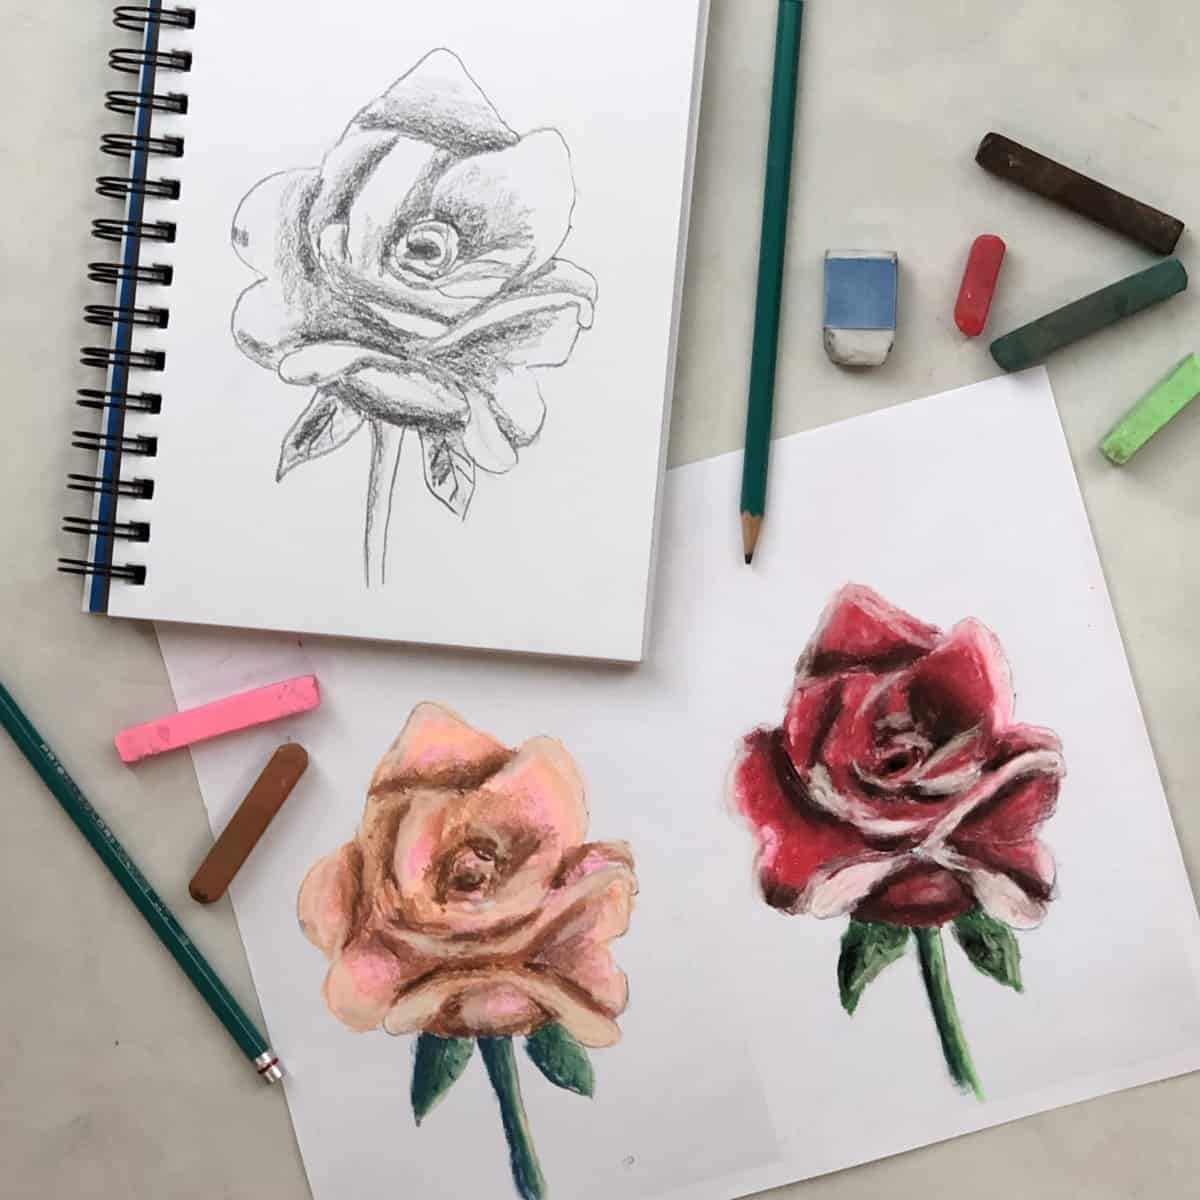
Roses are known for their beauty and elegance, making them a popular subject for artists to draw. Whether you are a beginner or an experienced artist, learning how to draw a rose can be a fun and rewarding experience. In this step-by-step guide, we will show you how to draw a simple rose that captures the essence of this timeless flower.
1. Start by drawing a small oval shape for the center of the rose. This will be the base from which the petals will grow outward.
2. Next, draw a series of curved lines surrounding the oval to create the first layer of petals. These lines should be slightly elongated and overlap each other to give the rose a natural look.
3. Continue adding more layers of petals around the center, making each layer slightly larger than the previous one. Remember to vary the size and shape of the petals to create a realistic and dynamic rose.
4. Once you have completed the outer layers of petals, add some smaller, more detailed petals in the center of the rose to give it depth and dimension. These petals can be slightly curved and overlap each other to add texture to the drawing.
5. Finally, add some leaves and a stem to complete the rose drawing. The leaves should be simple and elongated, with jagged edges to mimic the appearance of real rose leaves. Connect the leaves to the stem, which can be drawn as a simple curved line extending from the base of the rose.
With these steps, you have successfully drawn a beautiful rose! Remember to practice and experiment with different shapes and sizes to create your unique interpretation of this classic flower.
In conclusion, drawing a rose can be a fun and rewarding artistic exercise. By following these simple steps and practicing regularly, you can improve your drawing skills and create stunning rose illustrations. So grab your pencils and paper, and start drawing your very own rose masterpiece today!
