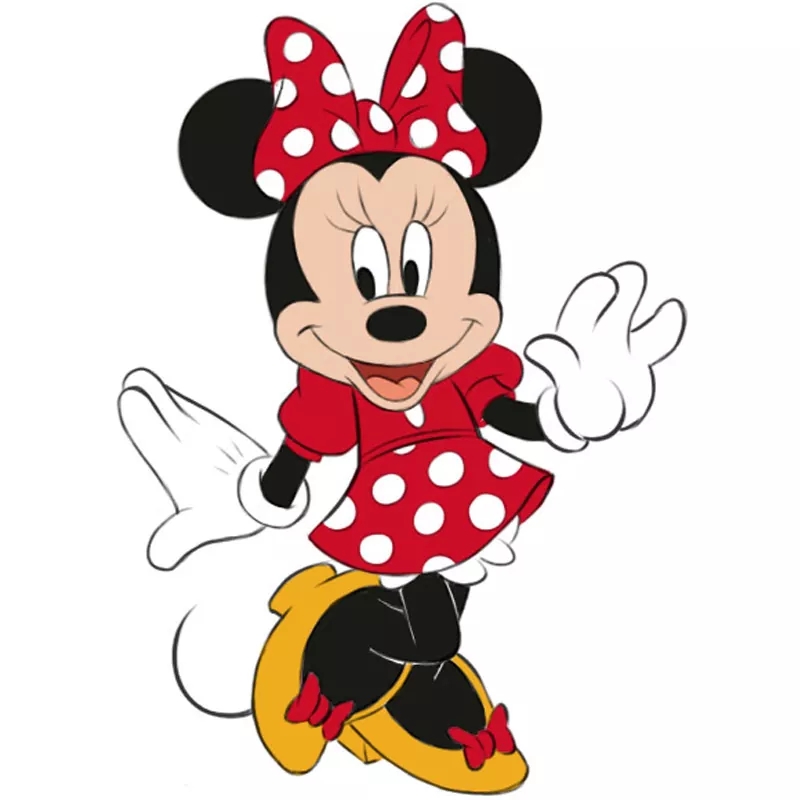
Disney’s Minnie Mouse is a beloved character known for her sweet and fun personality. Drawing Minnie Mouse can be a fun and rewarding experience, especially for fans of the iconic mouse. Whether you’re a beginner or an experienced artist, following these steps will help you create your very own Minnie Mouse drawing.
Before you begin drawing Minnie Mouse, make sure you have the necessary materials such as paper, pencils, erasers, and coloring tools. Find a comfortable and well-lit workspace to work on your drawing. Now, let’s get started on drawing Minnie Mouse!
Step 1: Sketch Minnie Mouse’s Head
Start by drawing a large circle for Minnie’s head. Add two smaller circles for her ears on top of the head circle. Then, sketch a smaller circle in the middle of the head for her nose.
Step 2: Draw Minnie Mouse’s Face
Next, draw two large ovals for Minnie’s eyes on either side of the nose. Add a curved line below the nose for her smile. Then, draw a bow on top of her head by creating two loops and two triangles for the bow tails.
Step 3: Add Minnie Mouse’s Body
Draw Minnie’s body by creating a curved line below her head. Add two lines on either side for her arms. Then, draw two circles at the bottom for her hands. Connect the body to the head with a curved line for her neck.
Step 4: Finalize Minnie Mouse’s Features
Detail Minnie Mouse’s face by adding eyelashes to her eyes and filling in her nose. Add a polka dot pattern to her bow for a classic Minnie Mouse look. Once you’re satisfied with your drawing, you can outline it with a pen and color it in with your favorite colors.
Now that you’ve completed your Minnie Mouse drawing, you can show it off to your friends and family. Drawing Minnie Mouse is a fun and creative way to express your love for this iconic character. Remember to practice and have fun with your drawing process!
