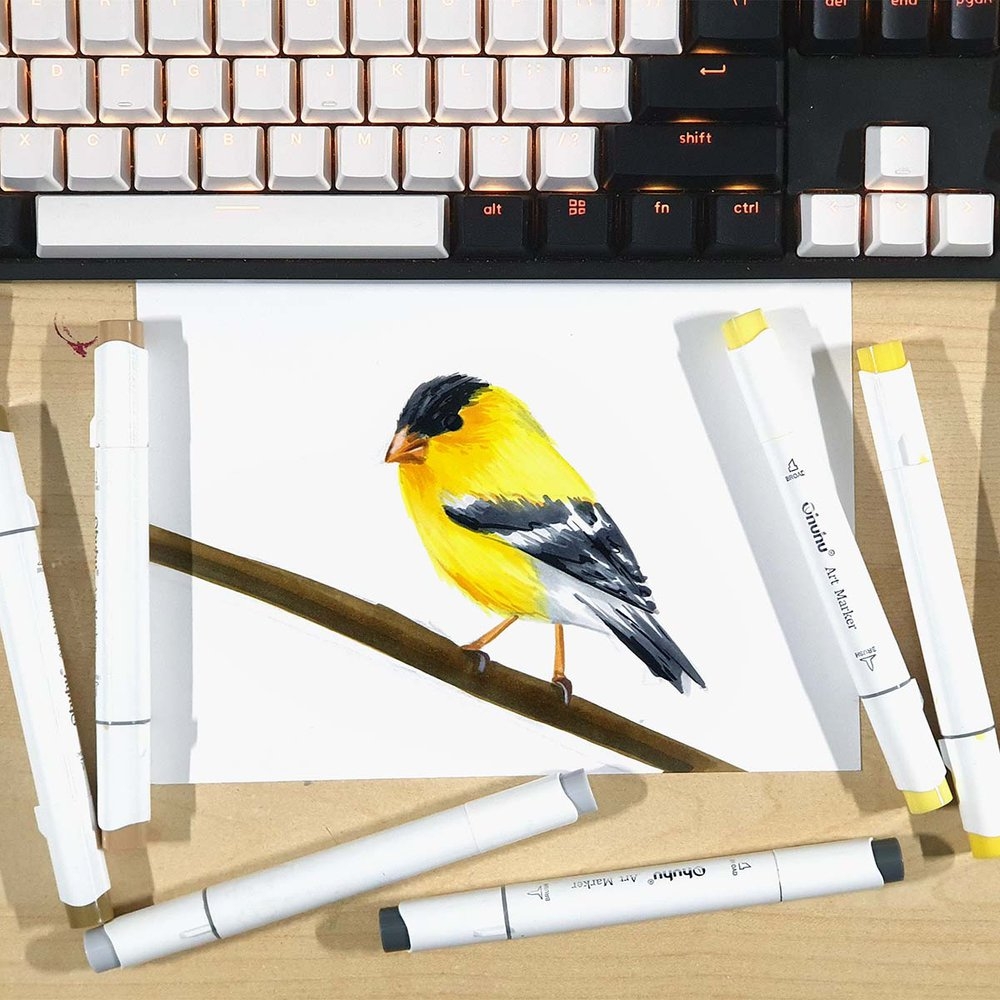
Learning to draw a simple bird can be a fun and rewarding experience. Whether you are a beginner or an experienced artist, creating a bird drawing can be a relaxing and enjoyable activity. In this article, we will guide you through the process of drawing a simple bird step by step.
1. Start by drawing an oval shape for the bird’s body. This will serve as the foundation for your drawing. Next, add a smaller circle at the top of the oval to represent the bird’s head.
2. Draw a small triangle shape at the front of the oval to create the beak of the bird. Make sure the triangle is pointed and slightly curved to give it a realistic look.
3. Add two small circles for the eyes of the bird. Place them above the beak and make sure they are evenly spaced apart. You can also add a small dot inside each circle to represent the pupils of the eyes.
4. Draw two small wings on either side of the bird’s body. These can be simple curved lines that extend from the body. You can add some feather details by drawing small lines along the wings.
5. Finally, add a tail to the bird by drawing a small triangle shape at the back of the oval. This will complete the basic outline of your simple bird drawing.
Once you have completed these steps, you can add more details and shading to your drawing to make it more realistic. You can experiment with different colors and textures to bring your bird drawing to life.
In conclusion, drawing a simple bird can be a fun and creative activity for artists of all ages. By following these easy steps, you can create a charming bird drawing that will surely impress your friends and family. So grab your pencils and paper, and let your imagination take flight!
