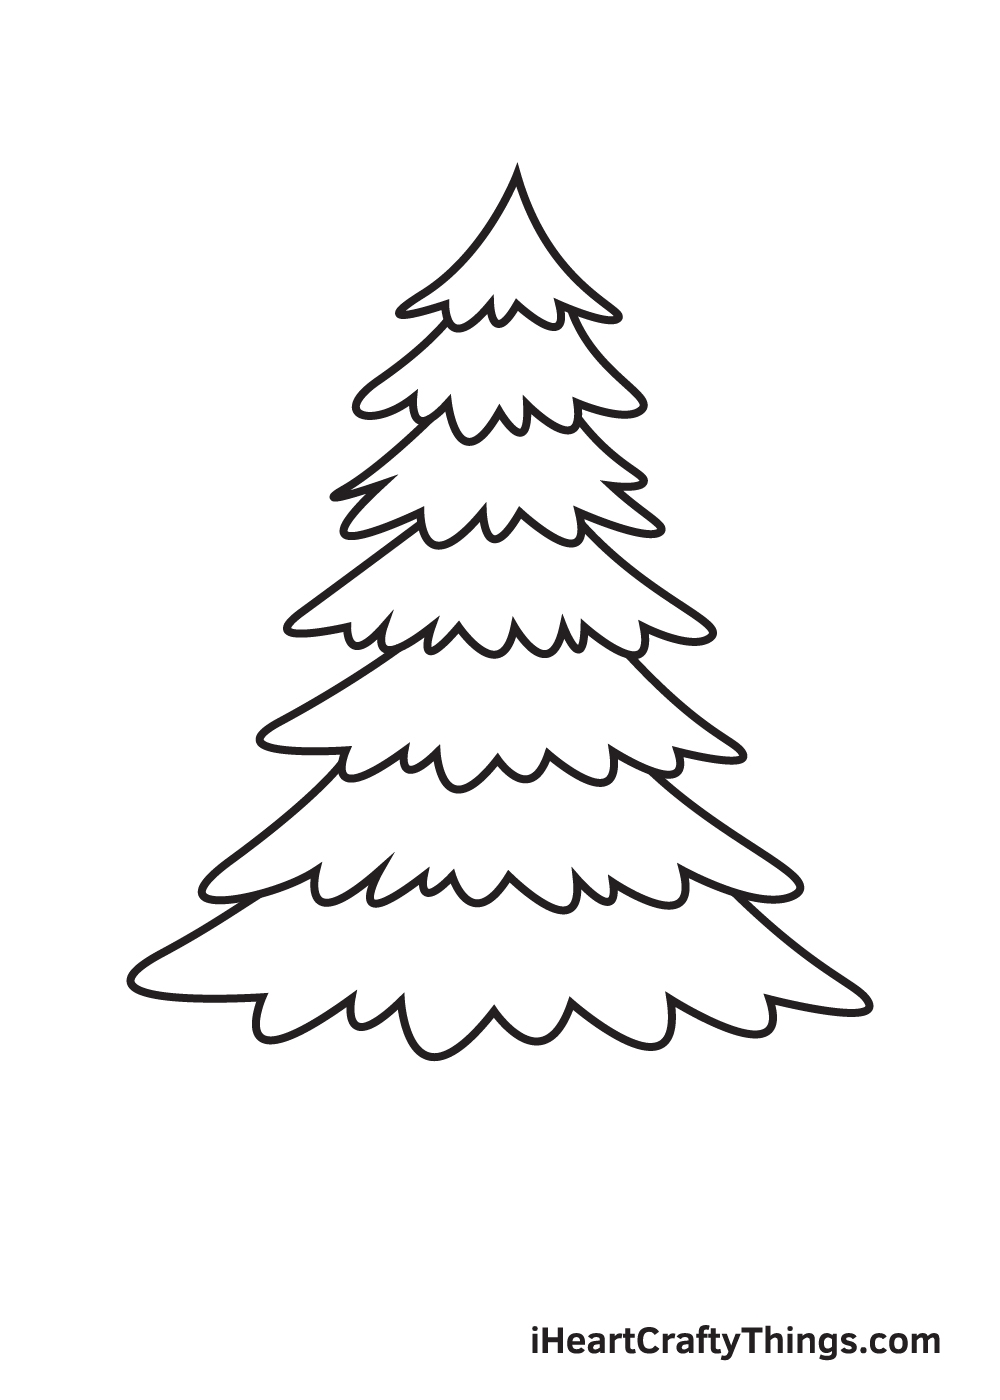
If you’re looking to add some natural beauty to your artwork, drawing a pine tree can be a great way to do so. Pine trees are known for their distinctive shape and can be a fun subject to sketch. With a few simple steps, you can create your own pine tree drawing that will impress your friends and family.
Before you begin drawing, take a moment to study the shape of a pine tree. Notice how the branches extend outwards in a triangular shape, with the bottom branches being longer and thicker than the ones at the top. This will help you capture the essence of a pine tree in your drawing.
Start by drawing a vertical line to represent the trunk of the pine tree. Next, add short horizontal lines across the trunk to indicate where the branches will be located. Make sure to vary the length and angle of the branches to create a natural look.
Once you have the basic outline of the tree in place, add details such as pine needles and pine cones. To draw pine needles, make short, thin lines that extend outwards from the branches. For pine cones, draw oval shapes at the end of some of the branches.
Finally, add shading to give your pine tree drawing depth and dimension. Use a pencil to carefully shade in the areas where shadows would naturally fall, such as underneath the branches and around the trunk. This will help bring your pine tree to life on the page.
With a little practice and patience, you can create a realistic and detailed pine tree drawing that showcases your artistic talent. Experiment with different techniques and styles to make your pine tree drawing unique and eye-catching. Whether you’re a beginner or an experienced artist, drawing a pine tree can be a rewarding and enjoyable experience.
In conclusion, drawing a pine tree is a great way to add a touch of nature to your artwork. By following these simple steps and techniques, you can create a beautiful pine tree drawing that will impress everyone who sees it. So grab your pencil and paper, and start sketching your own pine tree masterpiece today!
