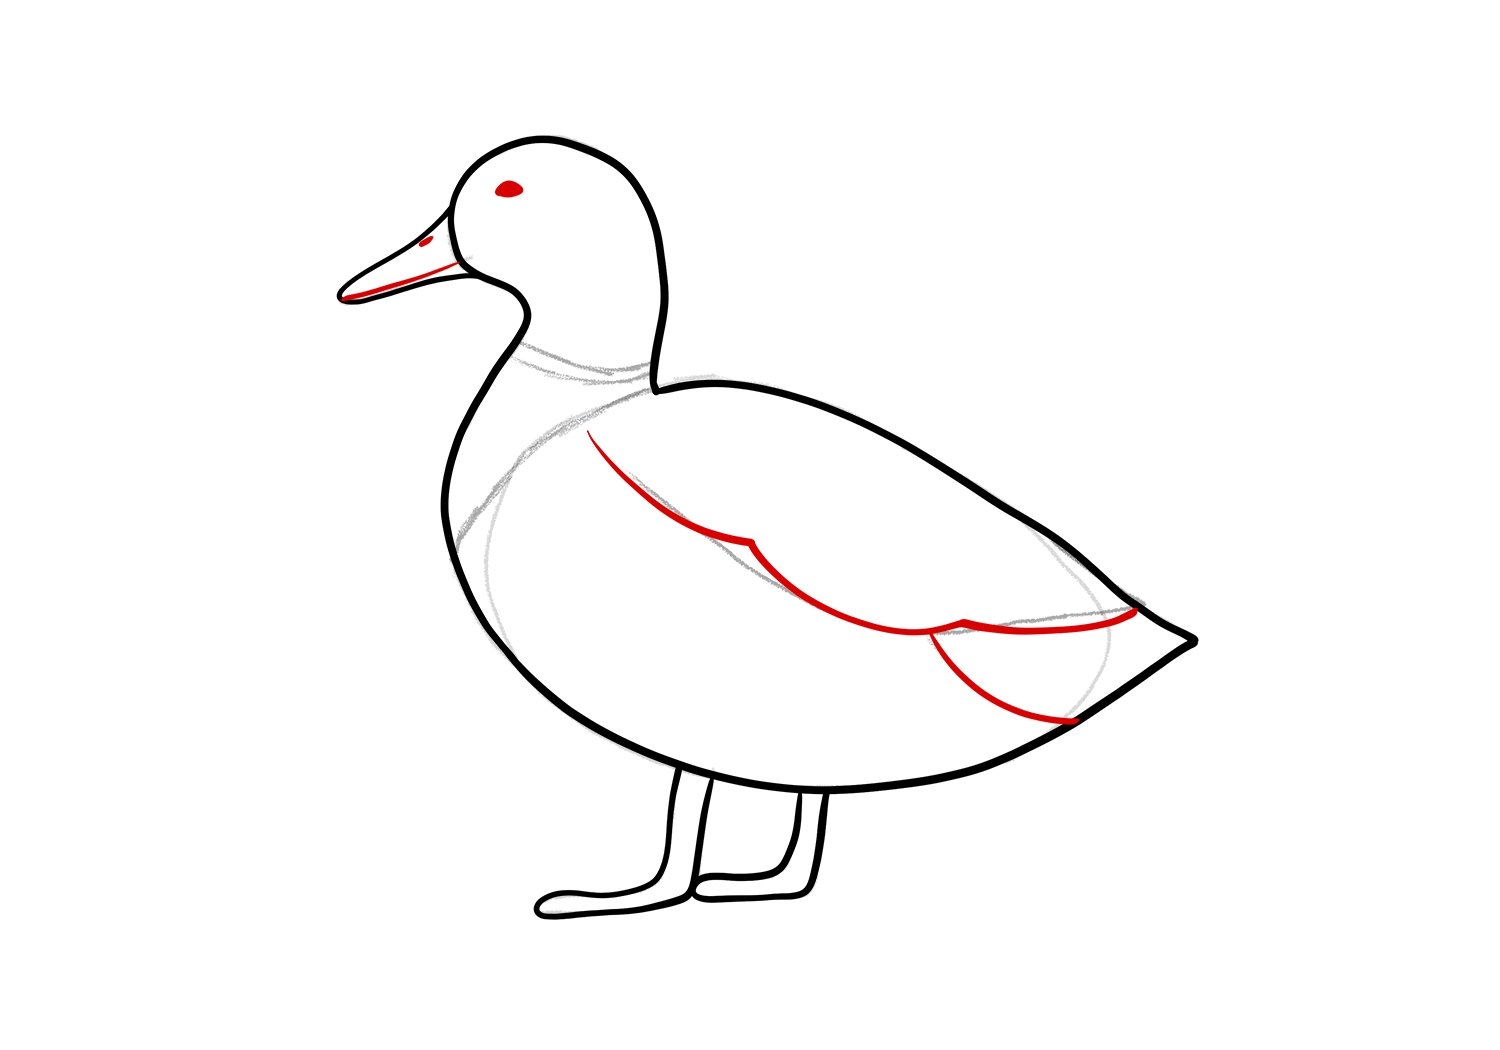
When it comes to drawing animals, ducks are a popular choice due to their adorable and recognizable features. If you’re looking to improve your drawing skills or just want to create a cute duck illustration, follow these simple steps to create your own duck masterpiece.
Before you begin drawing, make sure you have the necessary materials such as paper, pencils, and erasers. Find a comfortable and well-lit space to work in, and let’s get started on drawing a duck!
Step 1: Outline the Body
Start by drawing a large oval shape for the duck’s body. This will serve as the foundation for your drawing. Next, add a smaller oval for the head at the top of the body shape. Connect the two shapes with a curved line to create the duck’s neck.
Step 2: Add the Details
Now it’s time to add the details that will bring your duck drawing to life. Draw a small triangle for the beak at the front of the head shape. Next, draw two small circles for the eyes above the beak. Add a curved line for the smile below the beak to give your duck a friendly expression.
Step 3: Draw the Wings and Feathers
To create the duck’s wings, draw two curved lines on each side of the body shape. Add smaller curved lines within the wings to represent the feathers. You can also add some lines on the body to indicate more feathers for a realistic touch.
Step 4: Final Touches
Once you have added all the necessary details, take a step back and look at your duck drawing. Make any final adjustments or additions to enhance the overall appearance of your illustration. Don’t forget to erase any unnecessary lines and smudges for a clean finish.
In conclusion, drawing a duck can be a fun and rewarding experience, especially when you follow these simple steps. Practice makes perfect, so don’t be afraid to experiment with different styles and techniques to create your own unique duck drawings. With time and patience, you’ll be able to create stunning duck illustrations that you can be proud of!
