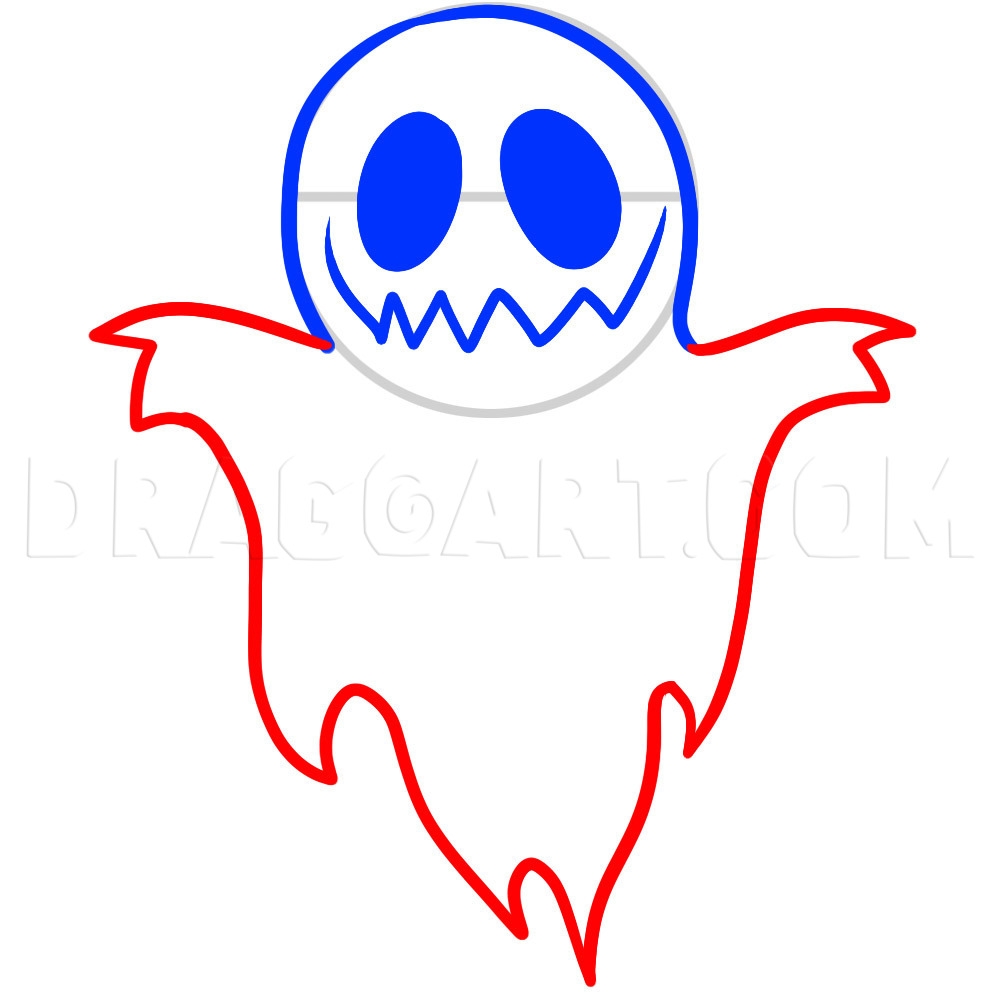
Ghosts are a classic symbol of Halloween and are a fun and easy drawing project for artists of all ages. In this tutorial, we will show you step-by-step how to draw a spooky ghost in just a few simple steps. So grab your pencil and paper, and let’s get started!
Whether you’re a beginner or an experienced artist, drawing a ghost can be a fun and rewarding experience. With just a few simple shapes and lines, you can create a cute or creepy ghost that is perfect for Halloween decorations or just for fun. So let’s dive into how to draw a ghost!
Step-by-Step Guide:
1. Start by drawing a large oval shape for the head of the ghost. This will be the body of the ghost and will serve as the foundation for the rest of your drawing.
2. Next, draw two small ovals or circles for the eyes of the ghost. Place them towards the top of the head, leaving enough space in between for the mouth.
3. Now, draw a big, open mouth below the eyes. You can make the mouth as wide or as narrow as you like, depending on the expression you want your ghost to have.
4. Add some squiggly lines around the edges of the ghost’s body to give it a wispy, ethereal appearance. This will make your ghost look more spooky and ghost-like.
5. Finally, add some finishing touches like shading or details to make your ghost unique. You can add accessories like a hat or bowtie, or even draw a background like a haunted house to complete the scene.
Once you’ve finished adding all the details, you can go over your drawing with a pen or marker to make the lines more defined. And there you have it – a cute or creepy ghost that you can be proud of!
So next time you’re looking for a fun and easy drawing project, try your hand at drawing a ghost. With just a few simple steps, you can create a spooky and festive ghost that is perfect for Halloween or any time of year. Happy drawing!
