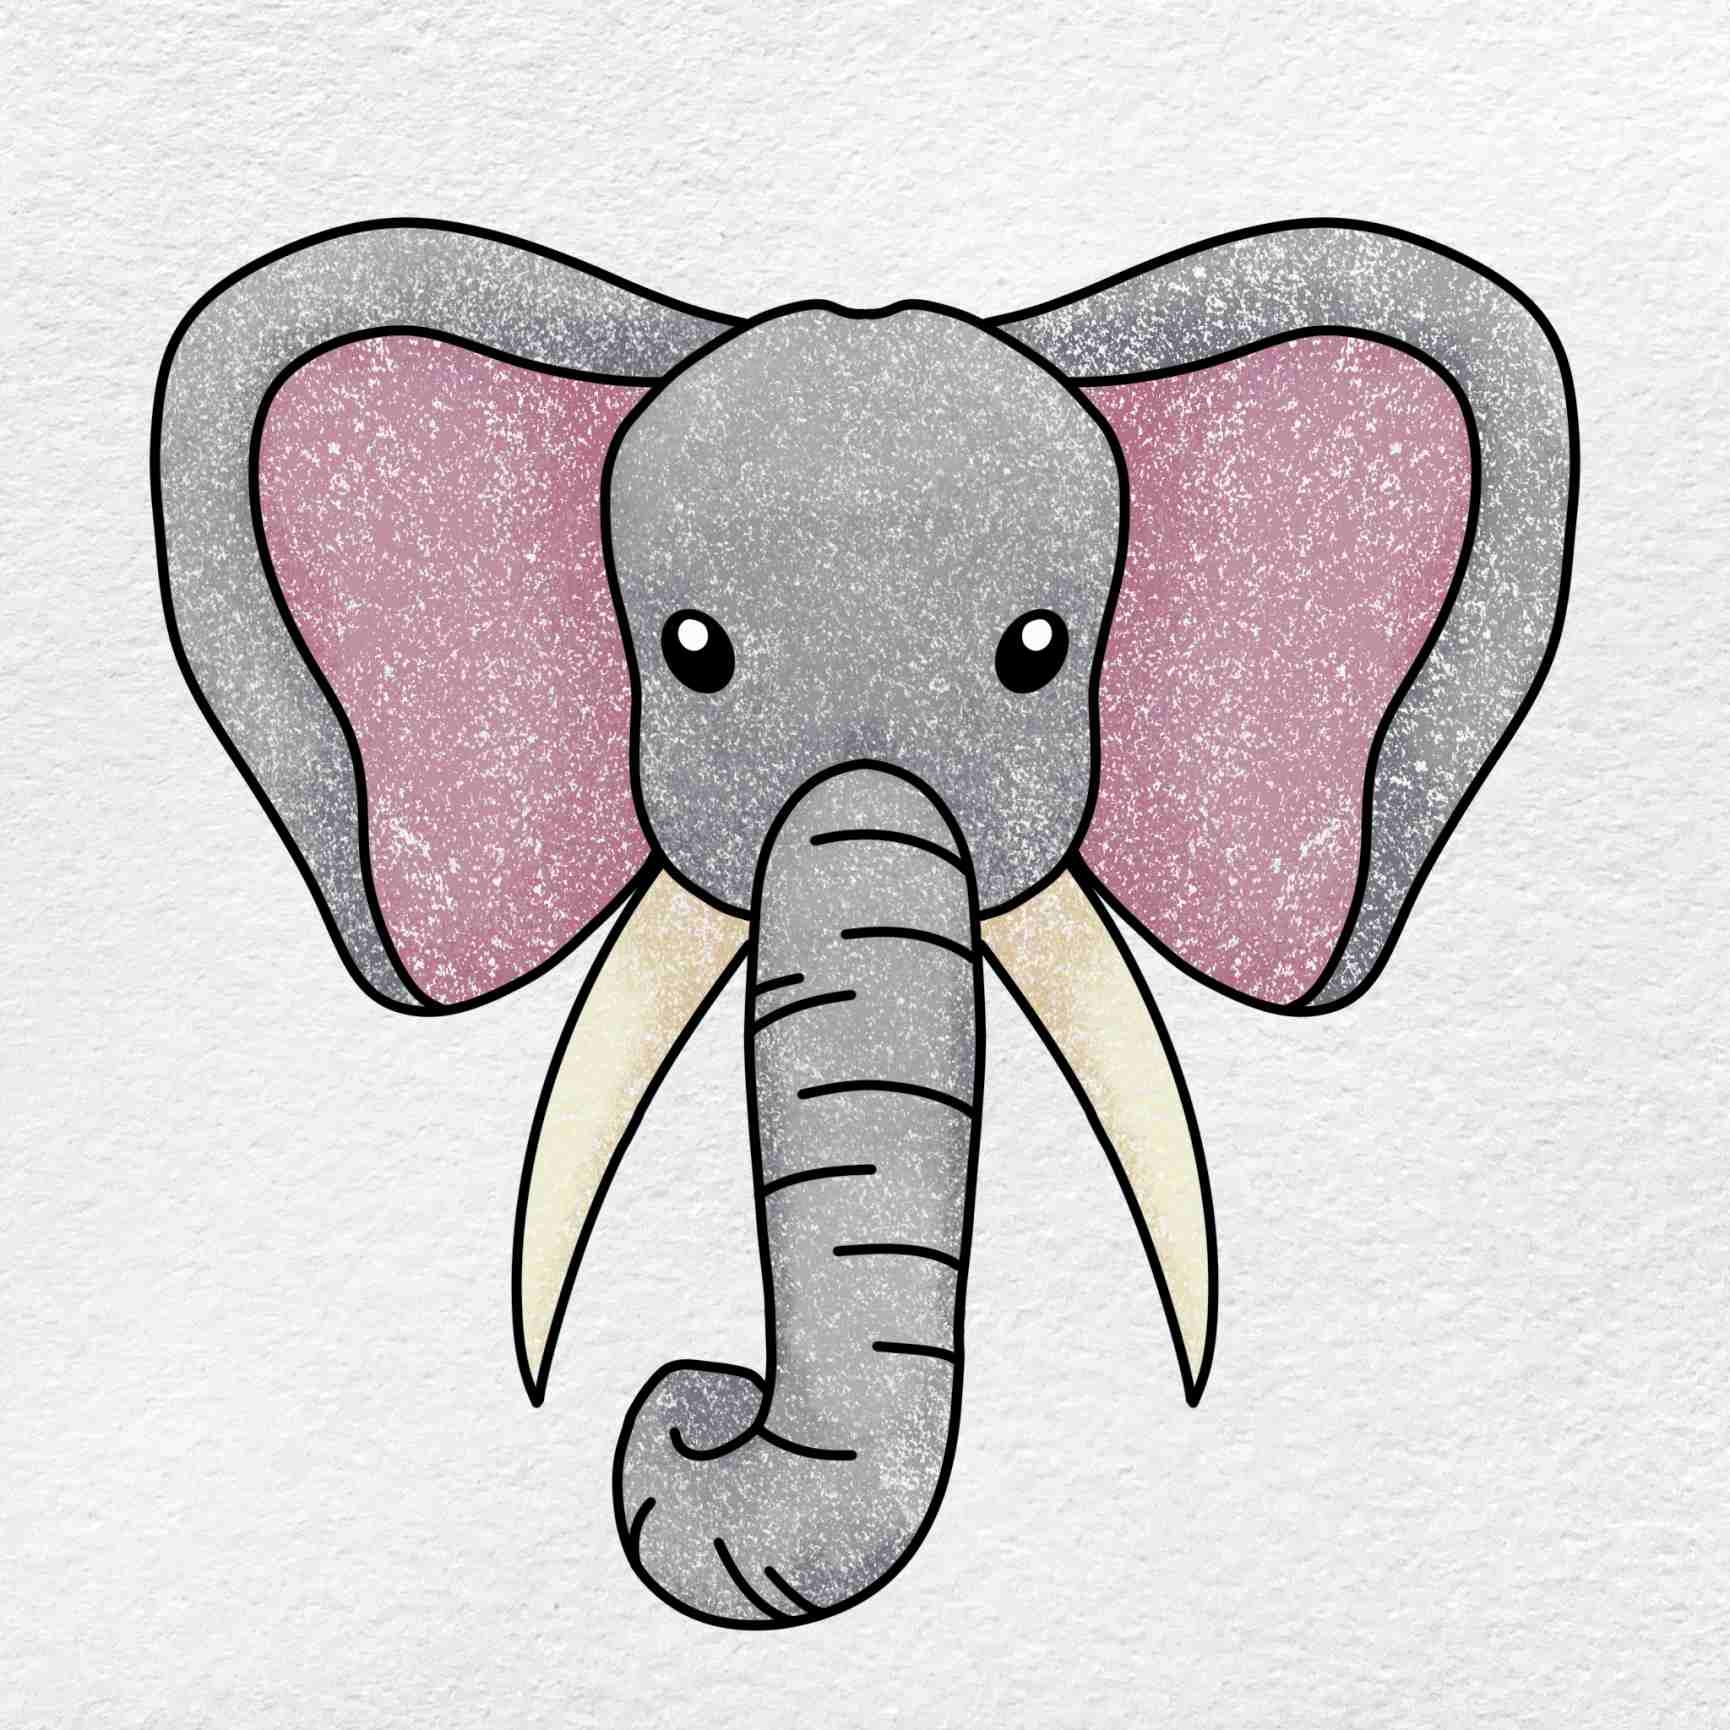
Elephants are majestic creatures that capture the hearts of many with their size and gentle nature. Drawing an elephant may seem like a daunting task, but with the right guidance, it can be a fun and rewarding experience. Whether you are an aspiring artist or just looking to try something new, follow these simple steps to create your own elephant drawing.
Before you start, gather your materials – a pencil, eraser, and paper. Find a comfortable and well-lit workspace where you can focus on your drawing. Take your time and remember that practice makes perfect!
Draw an Elephant Easily
1. Begin by sketching the basic shapes of the elephant. Start with a large oval for the body and a smaller circle for the head. Add two smaller ovals for the ears and a long, curved line for the trunk. Don’t worry about making it perfect, as you can always make adjustments later.
2. Next, add in the details. Use your pencil to outline the elephant’s body, legs, and trunk. Pay attention to the curves and shapes of each body part, and don’t forget to add in the wrinkles and folds of the elephant’s skin. Remember to take your time and be patient as you work through each detail.
3. Once you have outlined the elephant, start adding shading to create depth and dimension. Use your pencil to lightly shade in areas that would be in shadow, such as under the ears and around the eyes. Blend the shading with your finger or a blending tool to create a smooth transition between light and dark areas.
4. Finally, add the finishing touches to your drawing. Use your eraser to clean up any stray lines or smudges, and add in any additional details you may have missed. Take a step back and admire your work – you have successfully drawn an elephant!
In conclusion, drawing an elephant is a fun and achievable task with the right guidance. Practice regularly and don’t be afraid to make mistakes – they are all part of the learning process. So grab your pencil and paper, and start sketching your own majestic elephant today!
