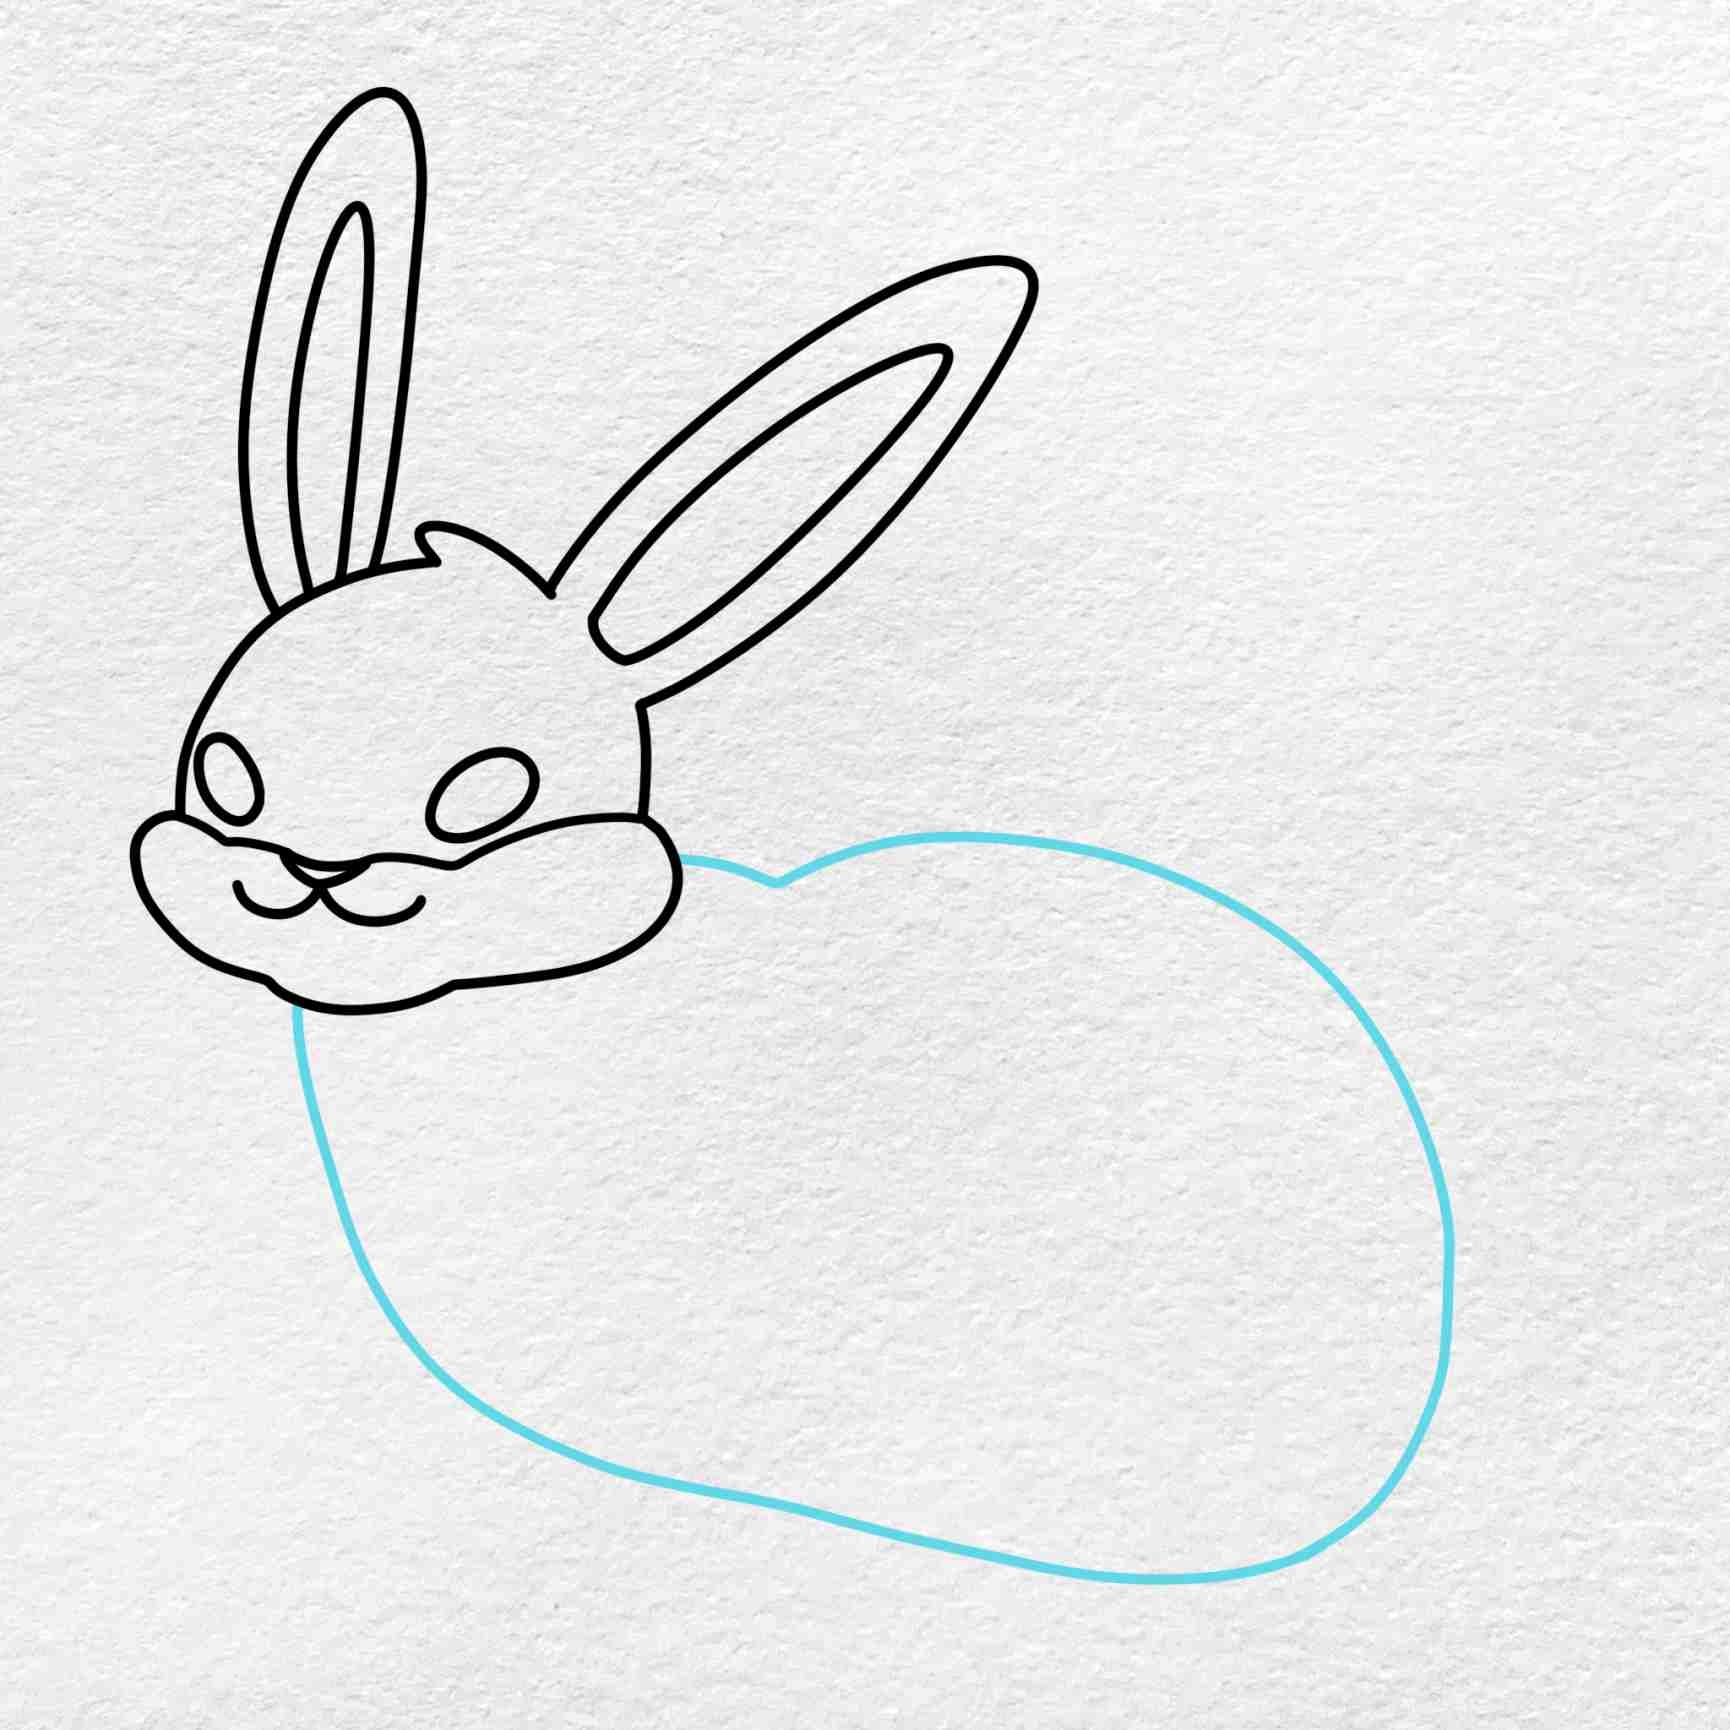
Whether you are a beginner or an experienced artist, drawing a rabbit can be a fun and rewarding experience. Rabbits are beloved creatures known for their fluffy tails and adorable ears. In this article, we will explore how to draw a rabbit in a few simple steps. Grab your pencil and paper, and let’s get started!
1. Start by drawing a small circle for the rabbit’s head. This will be the foundation of your drawing. Next, add two larger circles for the rabbit’s body, making sure they overlap slightly. Connect the head and body with a curved line to create the neck.
2. Now, it’s time to add the ears. Draw two long, pointed ears on top of the rabbit’s head. You can make them stand up straight or flop to the side, depending on the look you want to achieve. Don’t forget to add a small circle for the rabbit’s eye and a small oval for the nose.
3. Moving on to the rabbit’s legs, draw two small ovals at the bottom of the body. These will be the front legs. For the hind legs, draw two longer ovals at the back of the body. Make sure they are slightly angled to give the rabbit a natural pose.
4. Finally, add the fluffy tail at the back of the body. You can make it round or fluffy, depending on the style you prefer. Once you have completed all the steps, you can go over your lines with a darker pencil or pen to make the drawing stand out.
5. Voila! You have successfully drawn a cute rabbit. Feel free to add your own personal touches, such as adding patterns to the fur or giving the rabbit a playful expression. Drawing is all about creativity and having fun, so don’t be afraid to experiment and make the drawing your own.
In conclusion, drawing a rabbit is a simple and enjoyable process that anyone can try. With just a few basic shapes and some creativity, you can create a charming rabbit drawing that will bring a smile to your face. So go ahead, grab your drawing supplies, and unleash your artistic skills by drawing your very own adorable rabbit!
