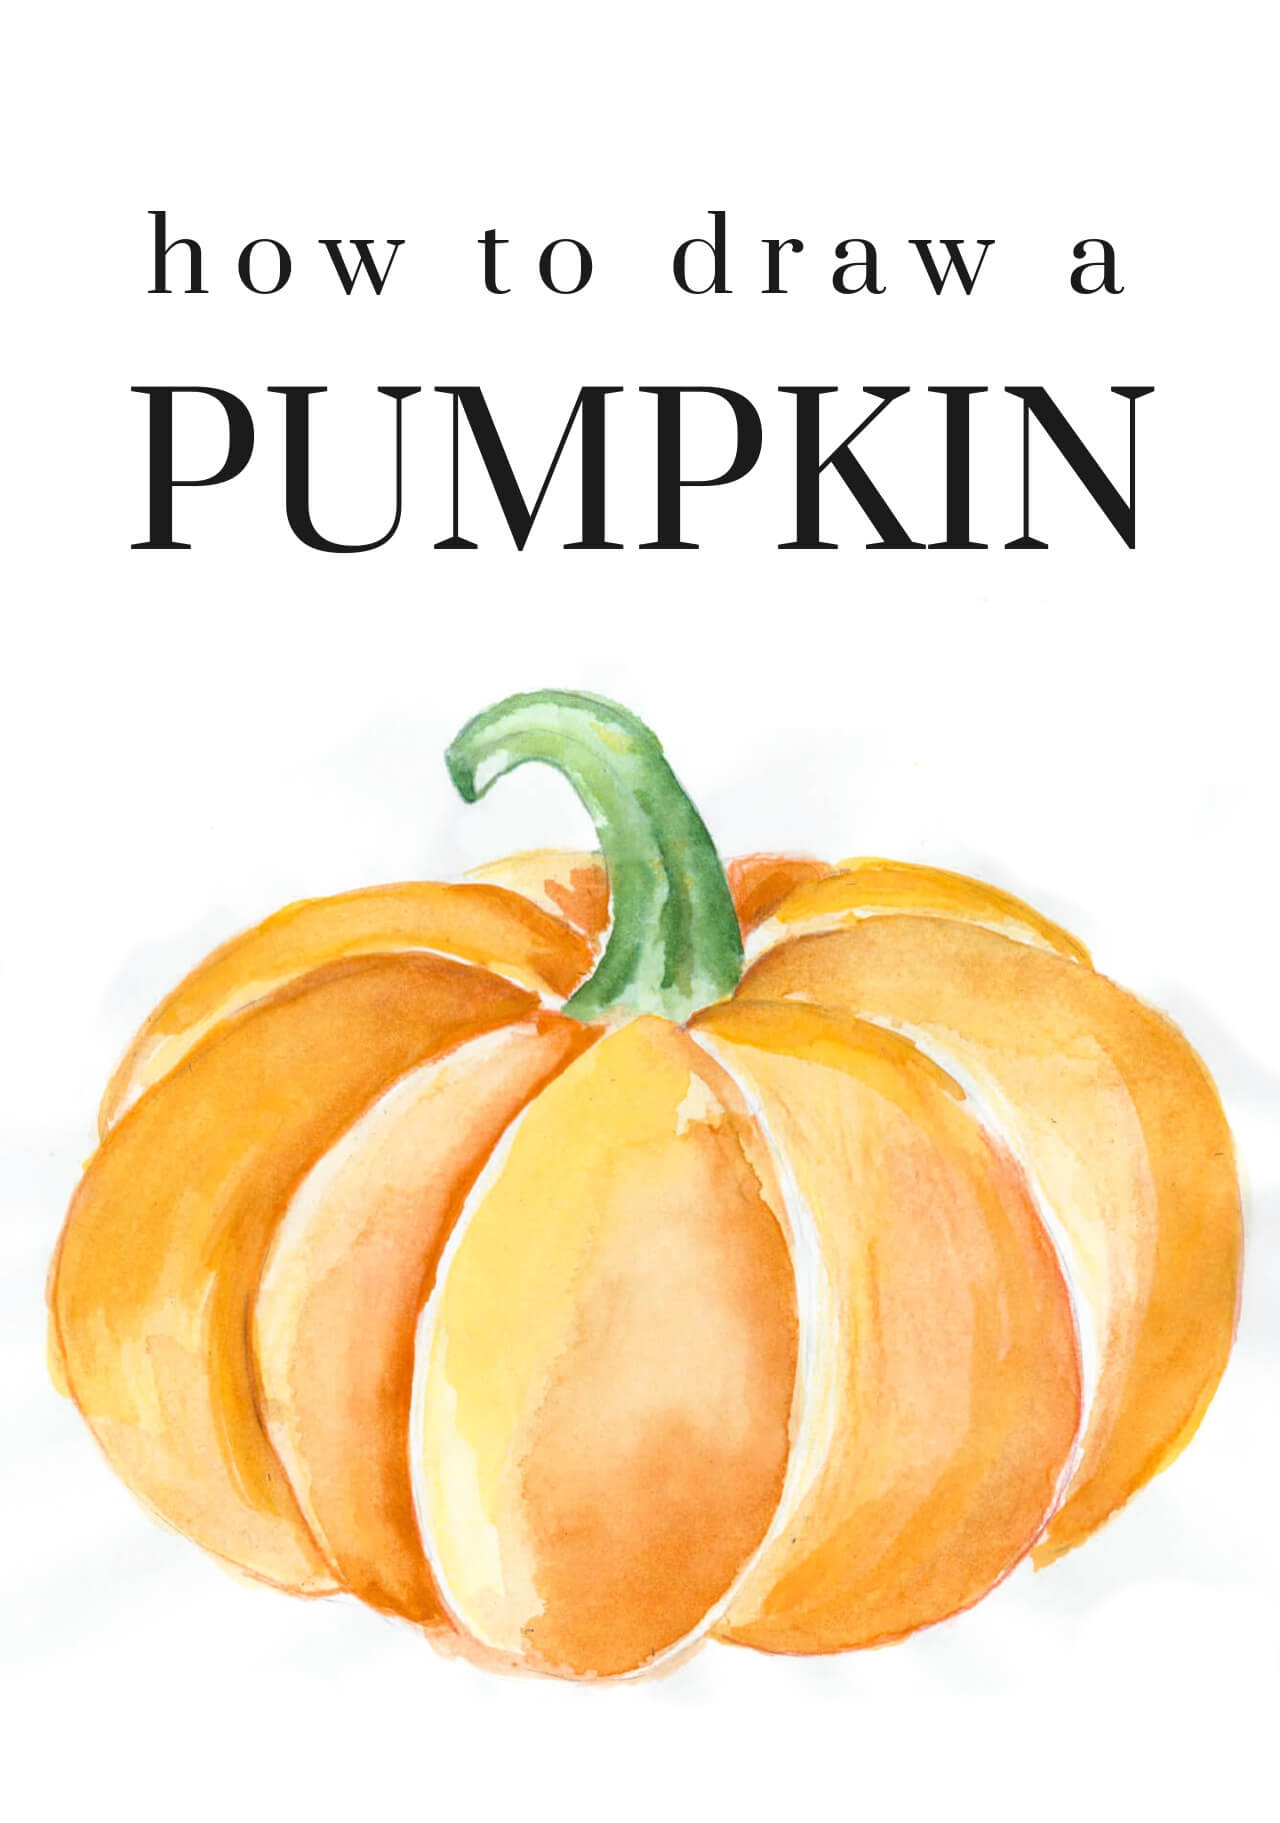
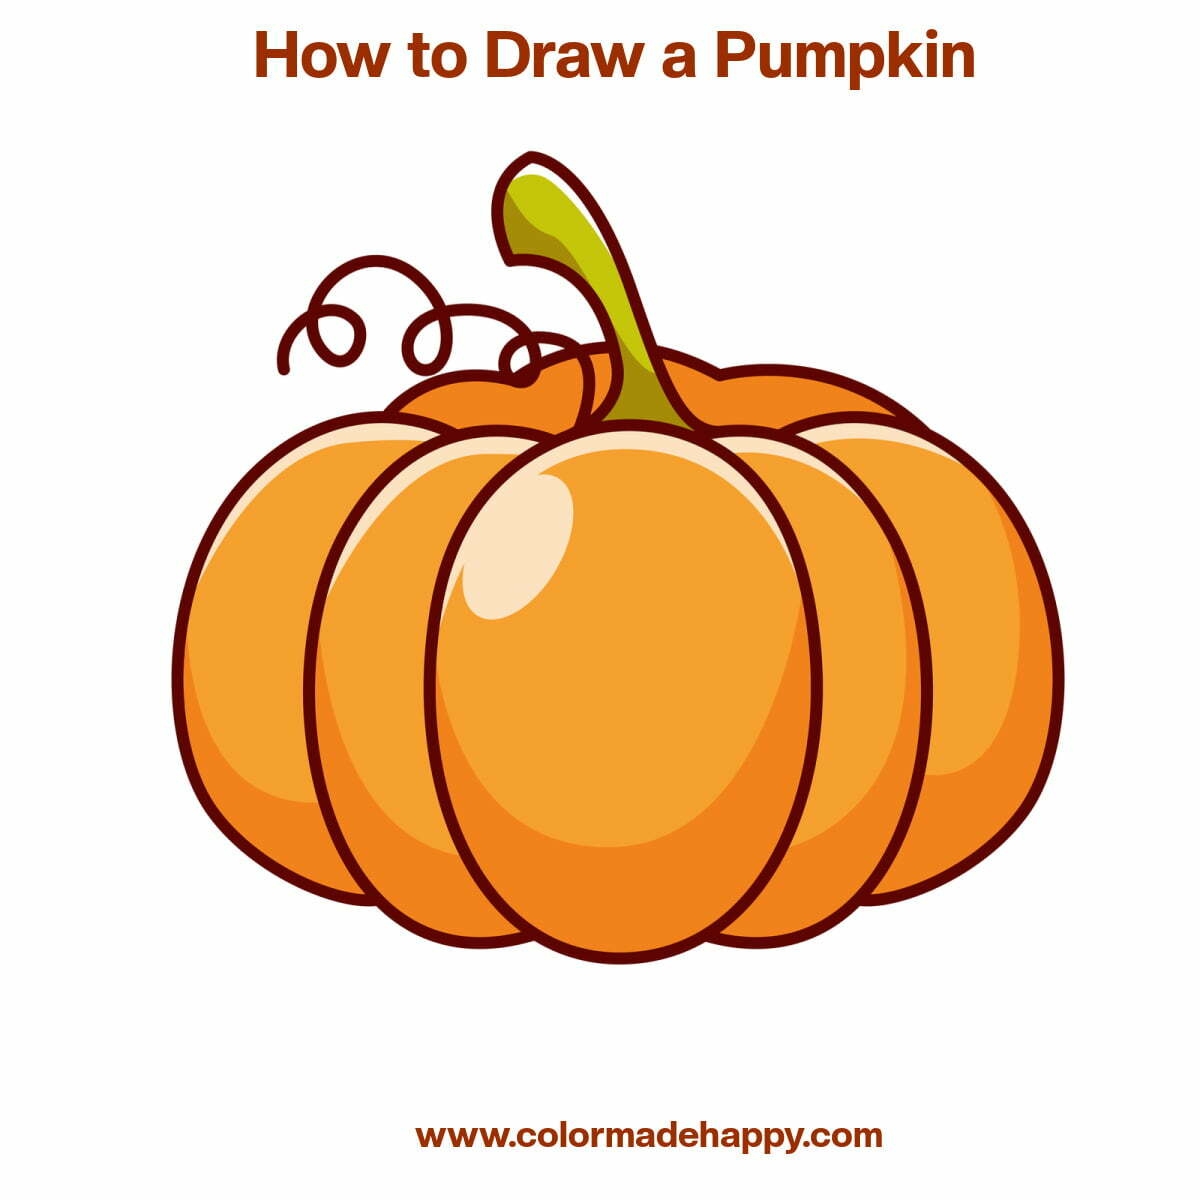
When it comes to fall and Halloween, pumpkins are a staple decoration. Drawing a pumpkin can be a fun and simple activity for artists of all levels. Whether you are a beginner or an experienced artist, here are some easy steps to help you create a festive pumpkin drawing.
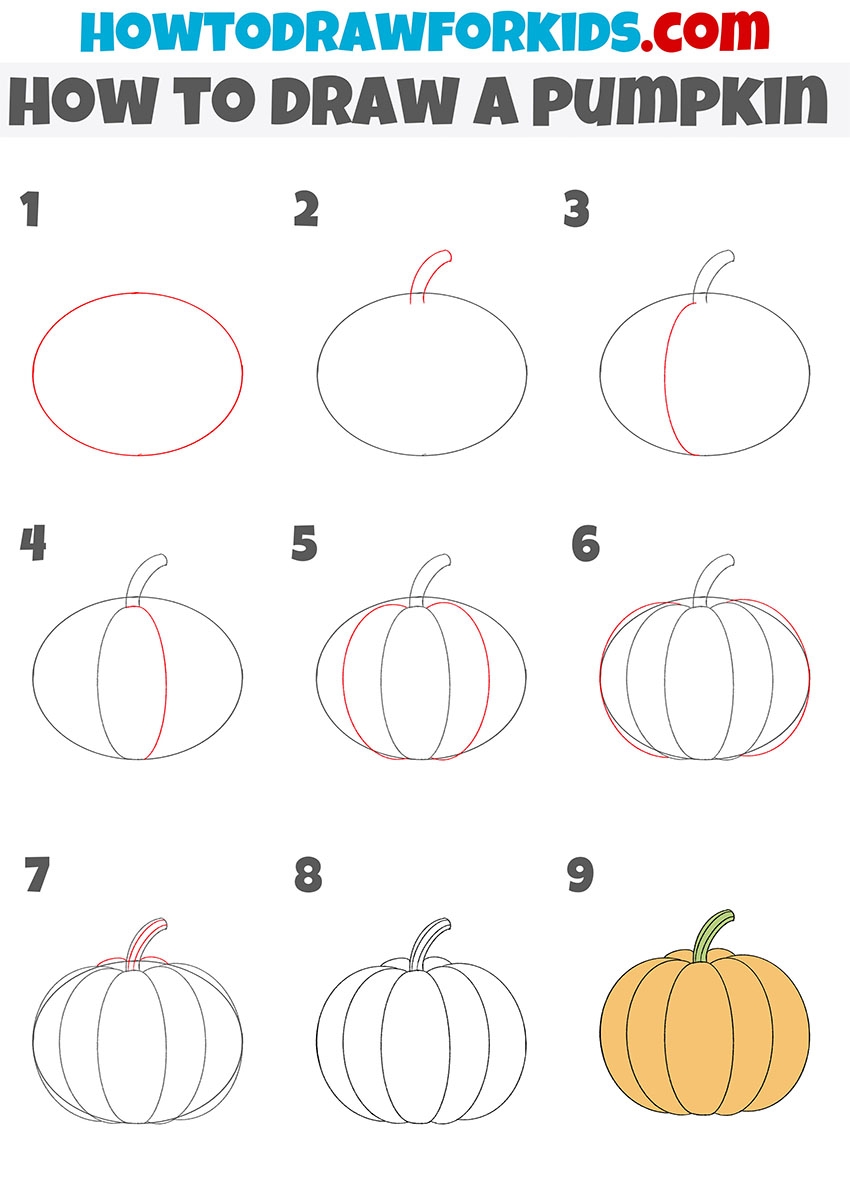
Start by drawing an oval shape for the body of the pumpkin. This will be the base of your pumpkin drawing. Next, add a stem to the top of the pumpkin by drawing a curved line. You can make the stem as long or short as you like, depending on the style of pumpkin you want to create.
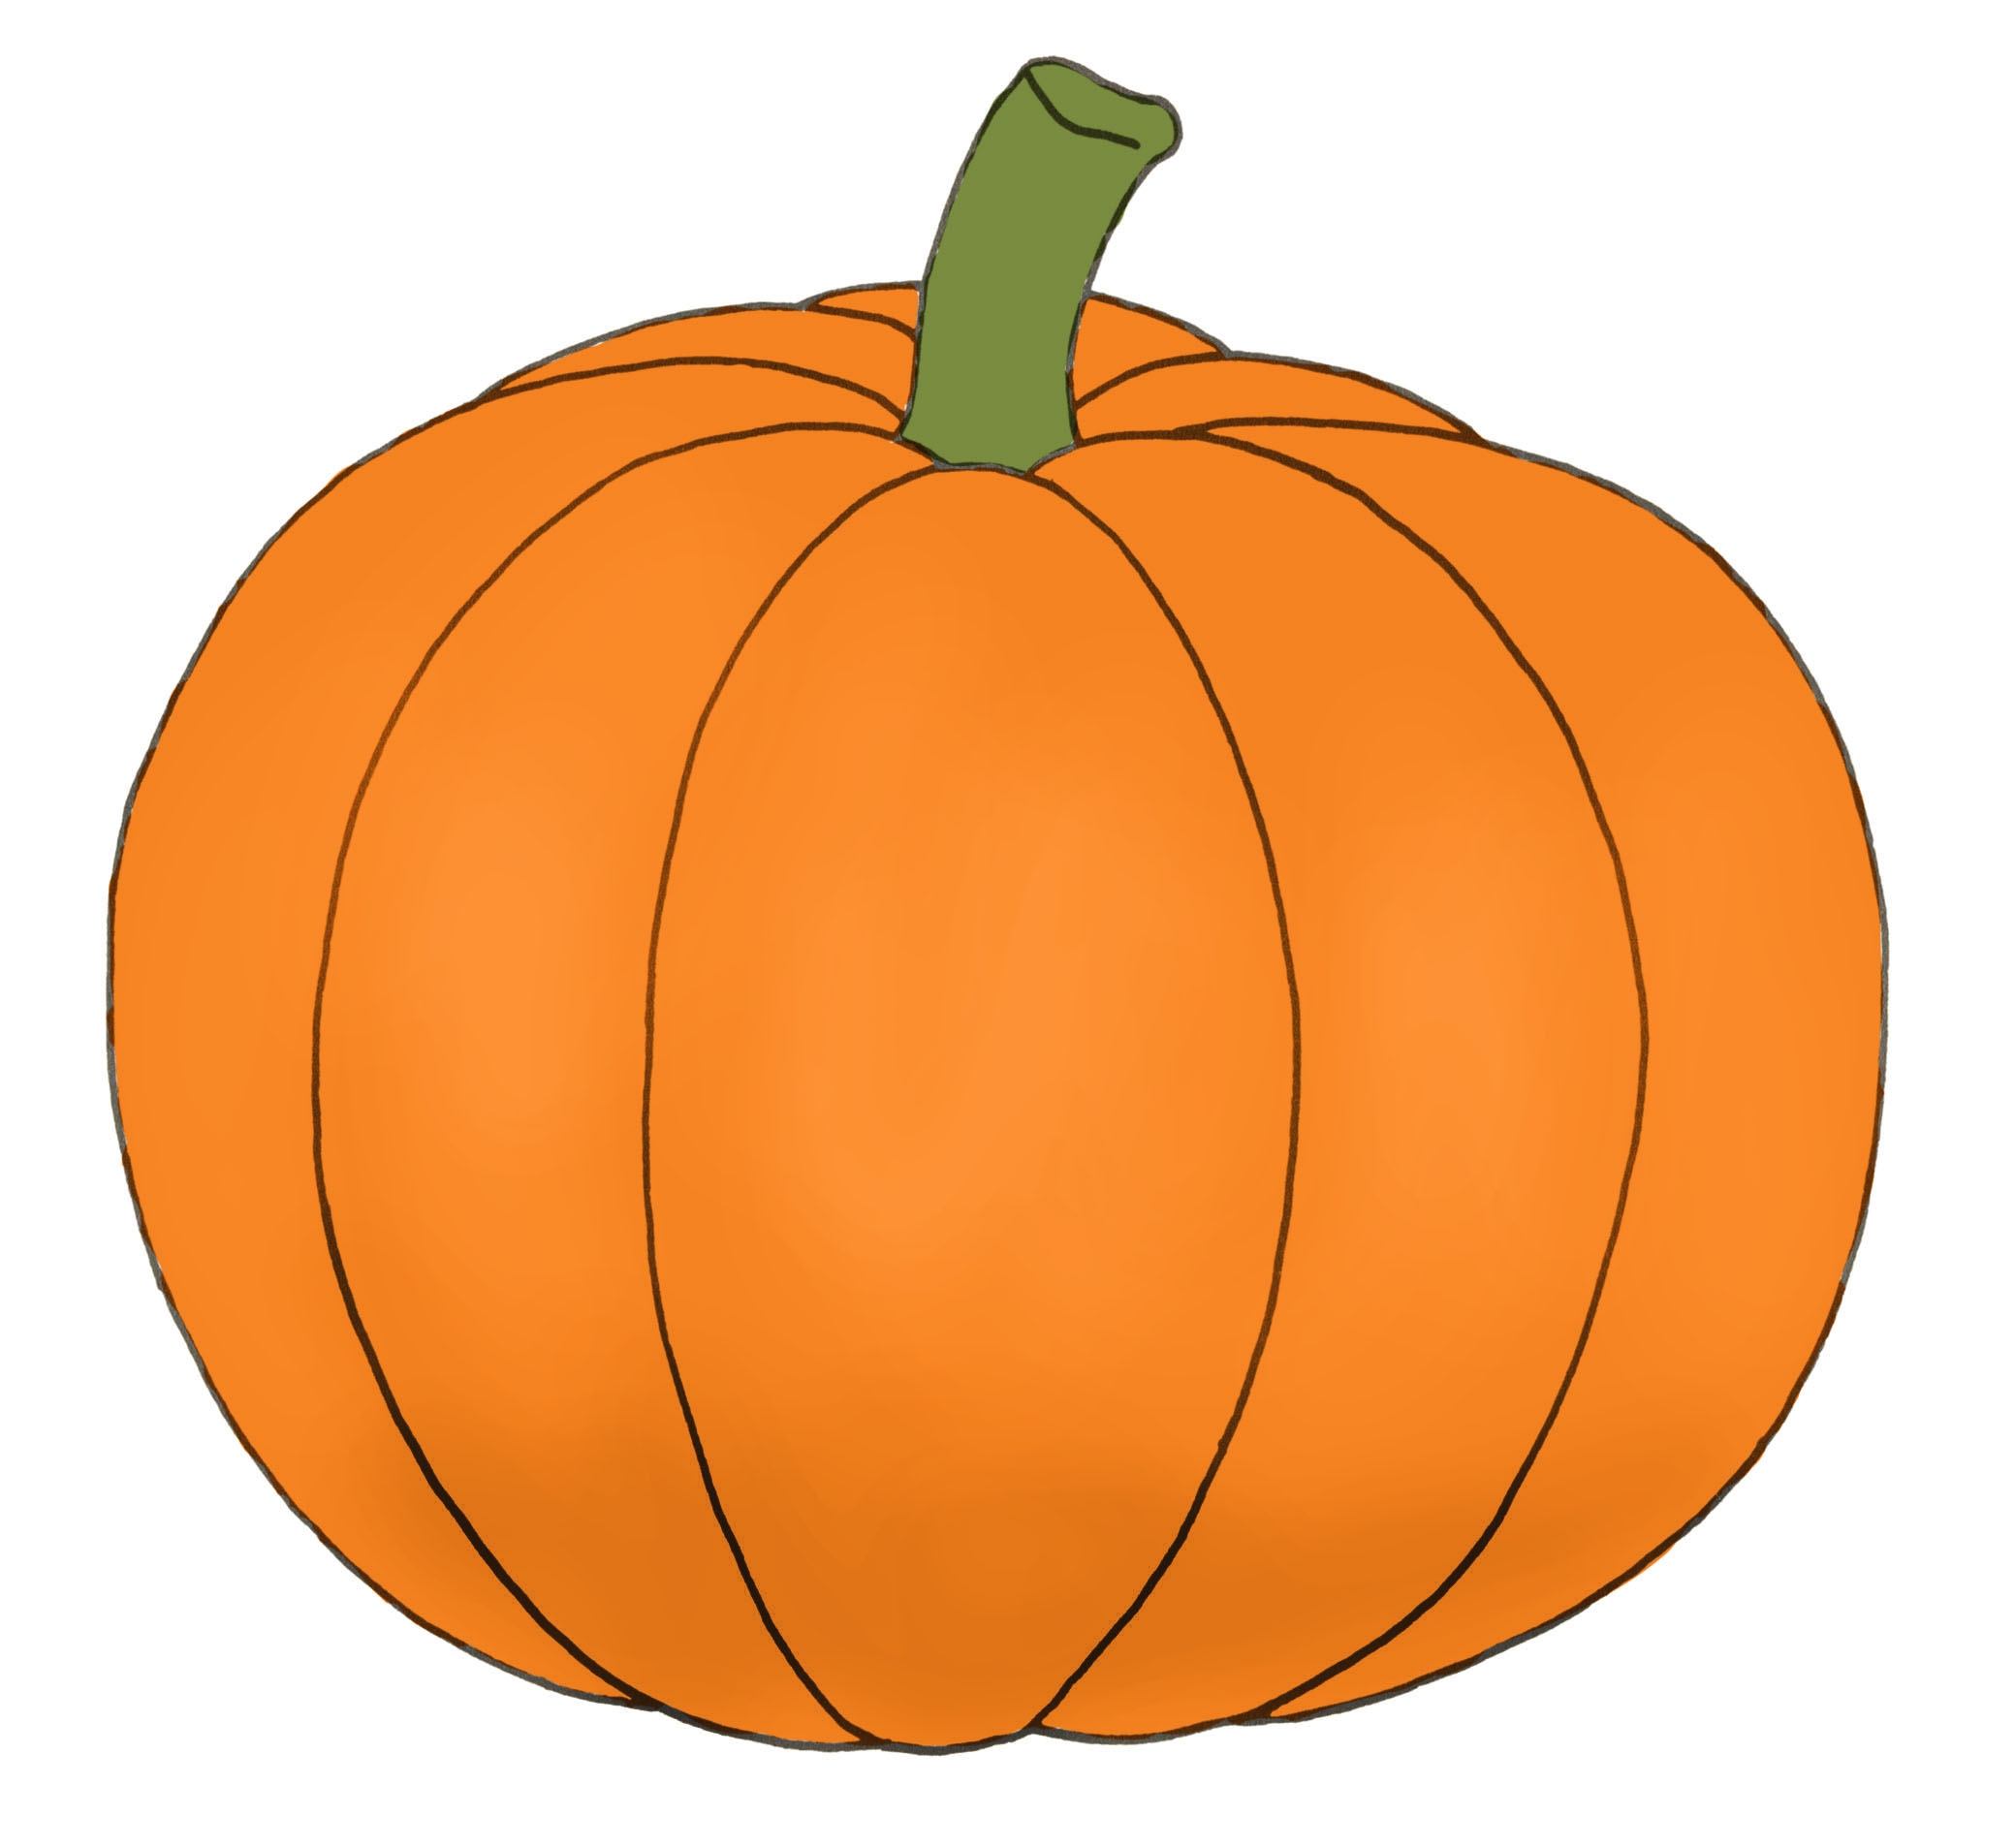
Next, add some lines to the pumpkin to give it texture and dimension. You can do this by drawing curved lines from the top to the bottom of the pumpkin, creating sections. These lines will give your pumpkin a more realistic look and add depth to your drawing.
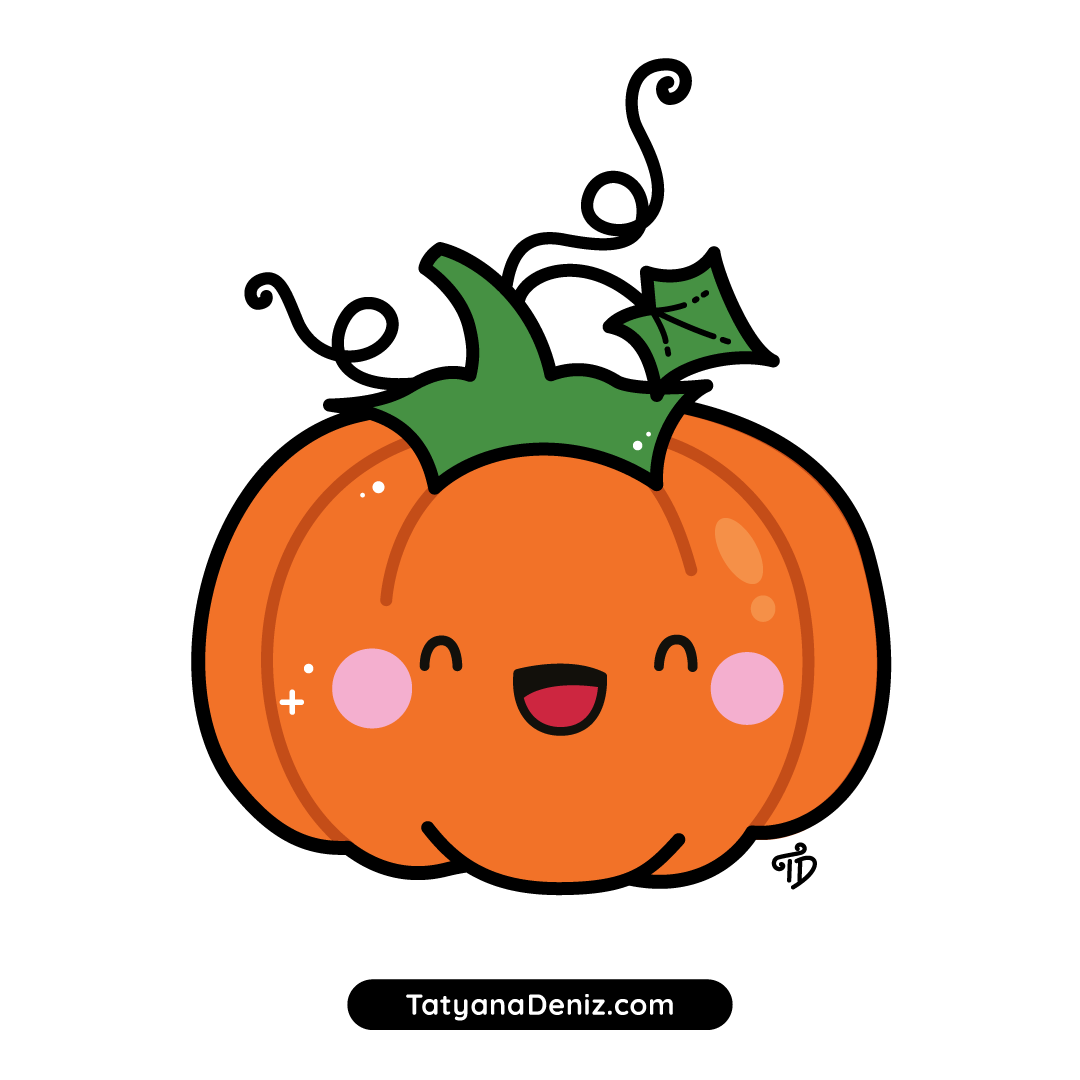
Once you have added texture to your pumpkin, you can add some details like leaves and vines. Draw a couple of leaves at the base of the stem, and add some curved lines to represent vines growing around the pumpkin. These details will make your pumpkin drawing look more complete and add a touch of whimsy.
Finally, add some shading to your pumpkin drawing to give it a three-dimensional look. You can do this by adding darker lines or shading to one side of the pumpkin to create shadows. This will make your pumpkin look more realistic and add depth to your drawing.
In conclusion, drawing a pumpkin can be a fun and easy activity for artists of all levels. By following these simple steps and adding your own creative flair, you can create a festive pumpkin drawing that is perfect for the fall season. So grab your pencils and paper, and get ready to create your own pumpkin masterpiece!
